
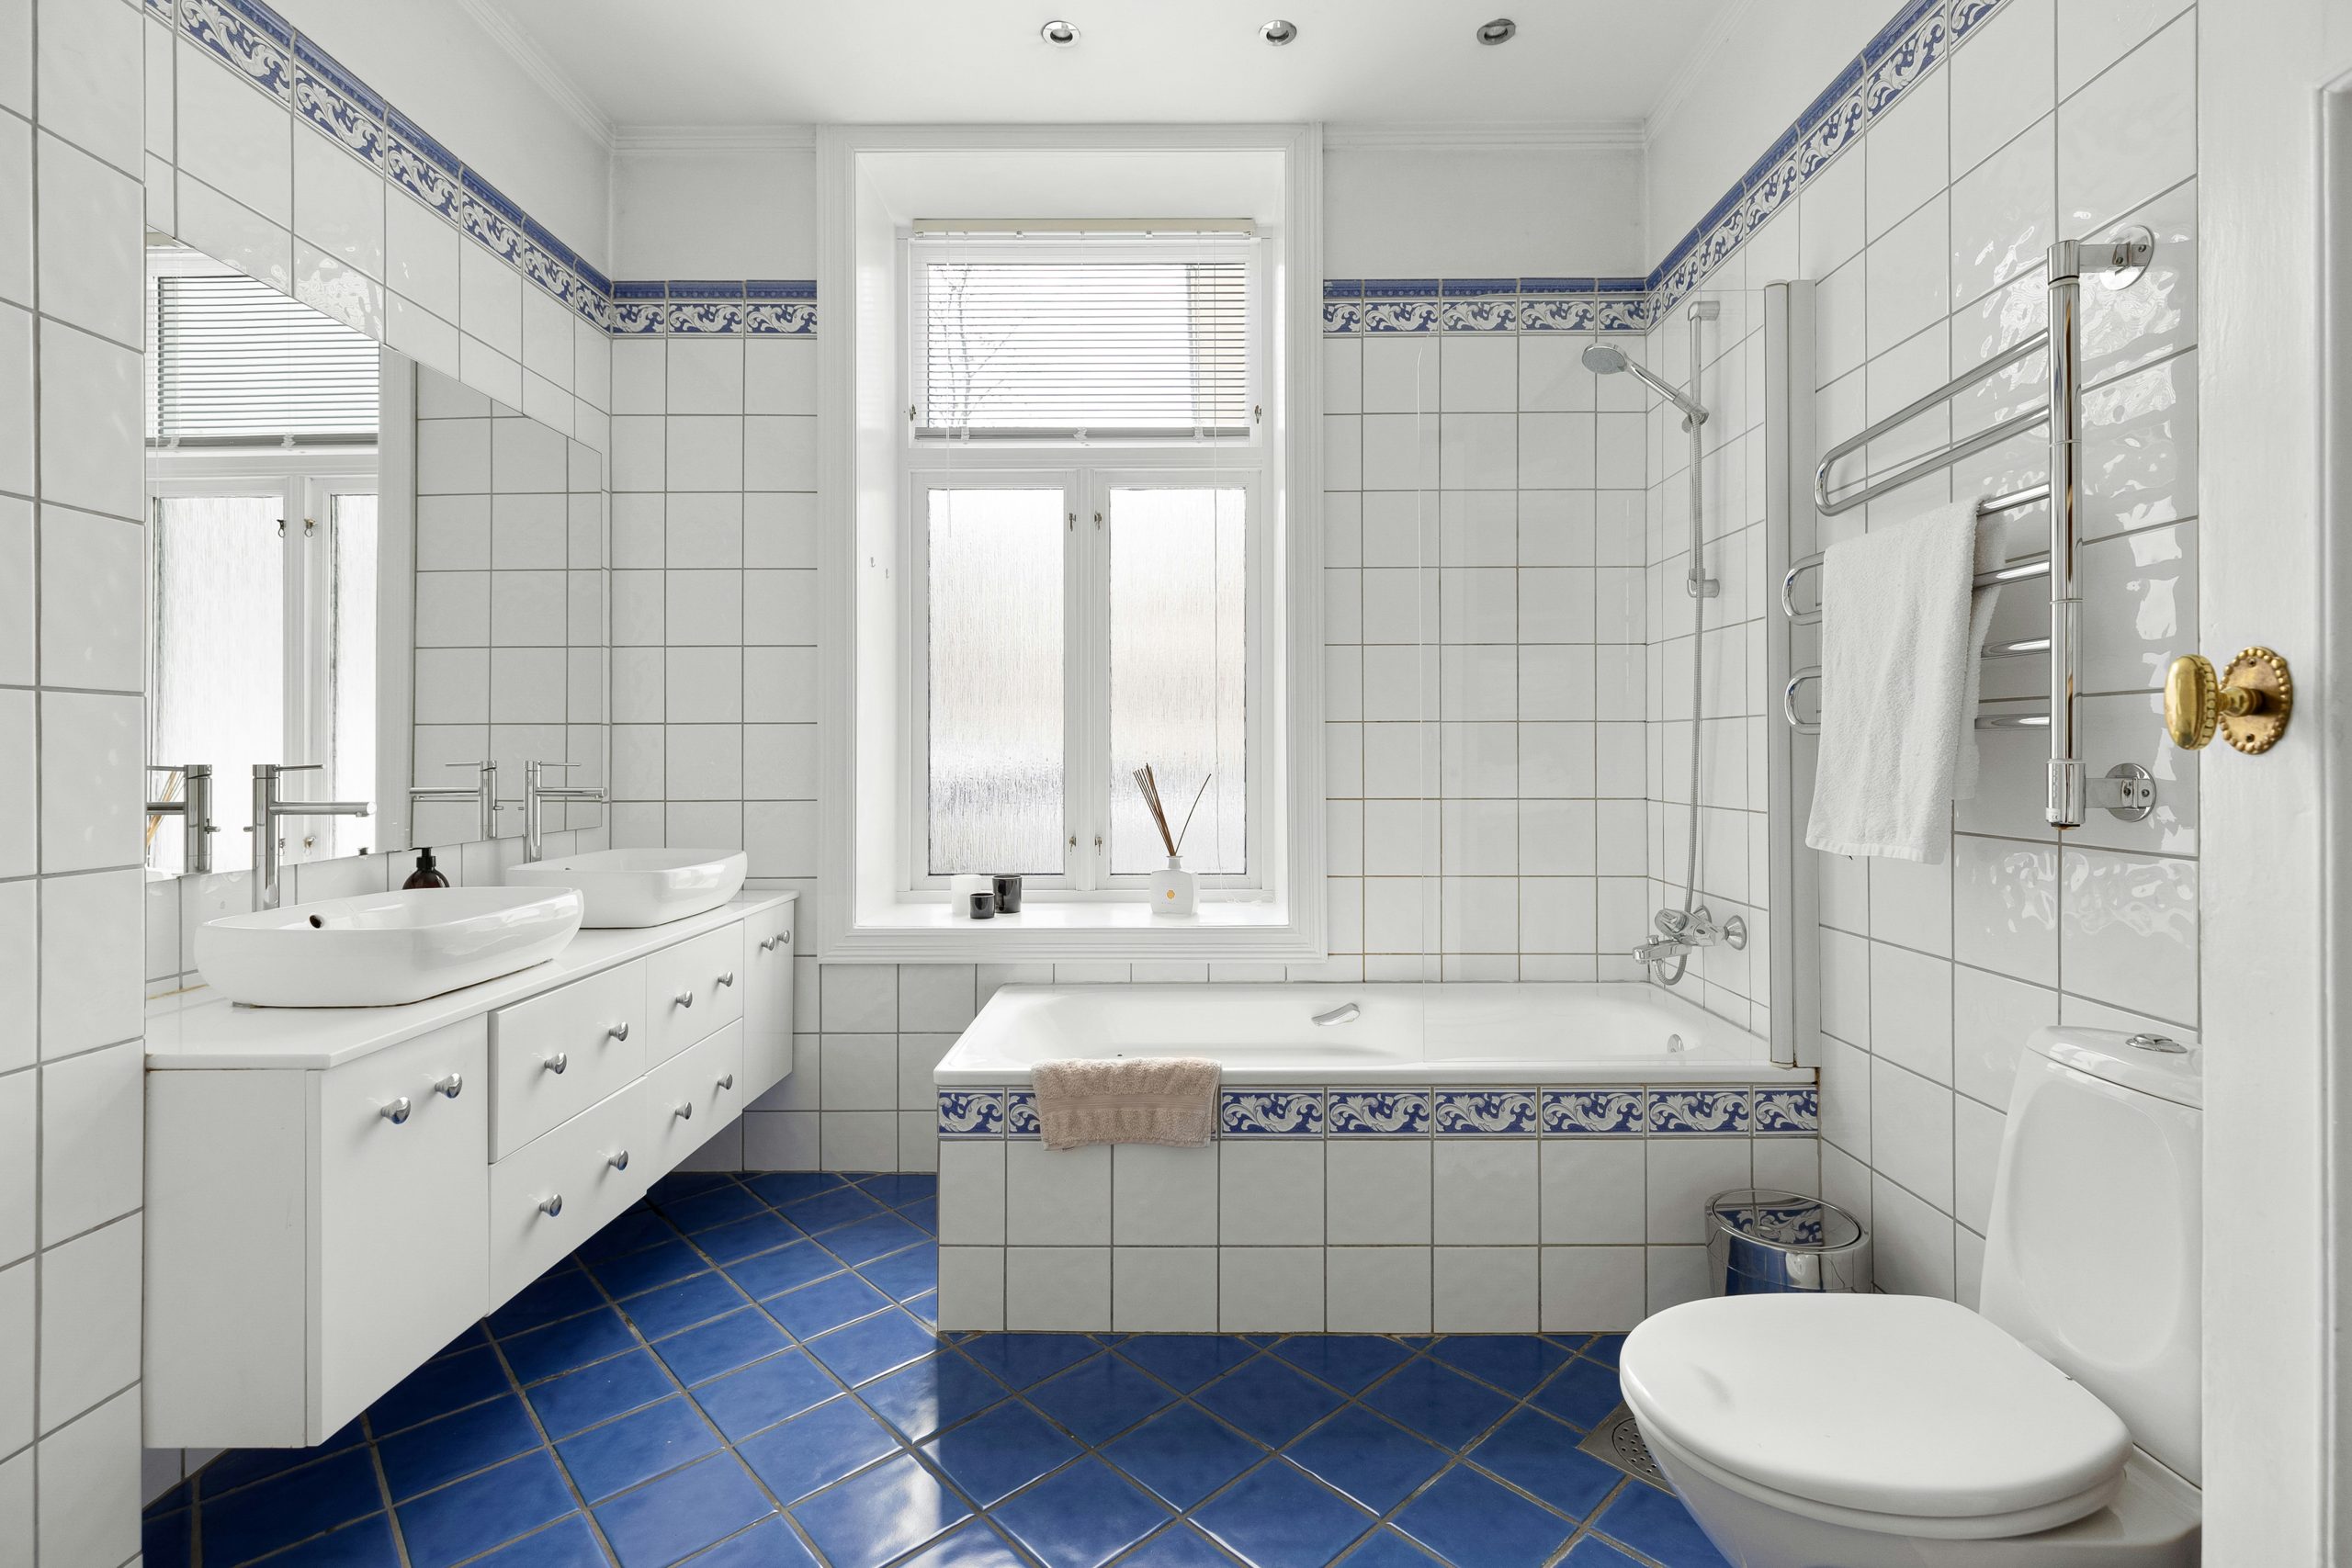
Image Credit: Unsplash
A successful kitchen or bathroom renovation starts with practical decisions about layout, materials and installation. These rooms work hard every day, so each choice needs to balance appearance, durability and ease of cleaning. A clear plan also helps you control costs and avoid delays caused by missing fittings or last-minute changes.
Planning Your Project
Begin by writing down what needs to change and what already works. A tired worktop may need replacing, for example, while sound kitchen cabinets could simply be repainted and fitted with new handles. In a bathroom, keeping the toilet, basin and shower in their existing positions may reduce plumbing work and leave more of the budget for tiles or storage.
Measure the room carefully, including ceiling height, door swings and the positions of pipes, sockets and windows. Record each measurement in one place and take plenty of photographs. A simple scale drawing will help you check that drawers can open fully and that there’s enough room to move between units. The recommended clearance will depend on your layout, so discuss tight spaces with your installer before ordering anything.
Create a list covering the main decisions, from taps and tiles to lighting and ventilation. Add at least 10% to your expected budget for hidden issues such as damaged plaster or old pipework. Think about the order of work too. Plumbing and electrical alterations usually happen before plastering, decorating and final sealing. If you’re working with a modest budget, these affordable bathroom finishing ideas can help you decide where small changes will have the most visible effect.
Choosing the Right Finishes
Select finishes early enough to check stock, lead times and compatibility. Some made-to-order worktops, cabinets and shower screens can take several weeks to arrive, while a discontinued tile could leave you short halfway through the job. Guidance on choosing fixtures and finishes shows why these decisions belong near the start of the schedule.
Kitchen worktops need to cope with spills, heat and frequent wiping. Laminate offers a broad choice of colours at an accessible price, though joins and cut edges require careful fitting. Solid surfaces can provide a more uniform look, while timber brings warmth but needs regular care around sinks. Ask for physical samples because colours and textures often appear different under your lighting than they do on a screen.
For bathroom floors, look for materials intended for damp areas and check their slip resistance. Large tiles create fewer grout lines, but they may be harder to fit on uneven walls or floors. Smaller formats can follow slopes more easily, particularly within a shower area.
Keep a sample board containing your cabinet colour, worktop, tile, grout and paint choices. View it in morning and evening light before placing orders. A good designer’s renovation toolkit can also help you compare colours, proportions and practical details as one scheme instead of treating every item separately.
Ensuring a Watertight Seal
Water can find its way through very small gaps around baths, shower trays, basins and kitchen sinks. Once moisture reaches the structure behind a surface, it may cause swollen boards, stained ceilings or mould growth. Good sealing therefore deserves the same attention as visible items such as tiles and taps.
Surfaces must be clean, dry and free from old residue before fresh sealant is applied. New sealant placed over a failing bead rarely lasts because it cannot bond properly. Remove the old material, clean the joint and allow the area to dry fully. The product also needs to suit the location, with sanitary silicone commonly used in wet areas because it resists moisture and includes protection against mould.
A neat bead takes steady pressure and careful preparation. If the joints are wide, awkward or highly visible, hiring a professional mastic man can be a sensible part of the renovation plan, particularly for shower resealing or mouldy silicone replacement in homes across South West England. Book this work after the main fitting and tiling are complete but before the room returns to daily use.
Allow the sealant to cure for the period stated by its manufacturer. That may mean keeping a shower or sink dry for 24 hours or longer. Using the area too early can distort the bead and weaken its bond, even when the surface already feels dry.
Adding Those Finishing Touches
Small details bring the whole scheme together once the major installation work has finished. Start with practical items that affect daily use. Place towel hooks where they can be reached from the shower, install sockets where countertop appliances will actually sit and check that cabinet handles feel comfortable from different angles.
Lighting works best in layers. A bathroom may need a main ceiling light plus focused illumination around the mirror, while a kitchen benefits from task lighting over preparation areas. Check that every fitting has an appropriate rating for its position, especially near water, and use a qualified electrician for fixed electrical work. Warm white light often feels comfortable in domestic rooms, although cooler task lighting can make food preparation or grooming clearer.
Mirrors can make a compact bathroom feel brighter, particularly when positioned to reflect daylight. In a kitchen, a simple splashback can create a similar lift without covering every wall in a decorative finish.
Finish with a careful snagging check before paying the final balance. Open every cupboard, run each tap and inspect grout lines in good light. Confirm that water drains quickly, doors don’t rub and extractor fans operate correctly. Photograph any fault and agree on a date for correction. Keep leftover tiles, matching grout and paint in labelled containers, since exact colours can become difficult to source later.
Maintaining Your New Space
Regular, gentle cleaning will preserve a new kitchen or bathroom more effectively than occasional heavy scrubbing. Wipe water from shower screens, taps and sealant after use where practical. This reduces limescale and removes the damp conditions that allow mould to develop.
Use cleaning products suitable for each surface. Abrasive powders may scratch acrylic baths, gloss cabinets and some worktops, while acidic products can damage natural stone and cement-based grout. Test an unfamiliar cleaner in a hidden spot and follow the care instructions supplied with the material. Microfibre cloths and warm soapy water are often enough for routine cleaning.
Ventilation matters just as much as wiping surfaces. Run the bathroom extractor during a shower and leave it on afterwards according to the manufacturer’s guidance. In the kitchen, use the extractor while cooking and clean or replace its filters at the recommended intervals. Persistent condensation may point to weak ventilation or another moisture problem that needs attention.
Inspect joints around sinks, worktops, baths and showers every few months. Look for lifting edges, cracks, dark patches or gaps where the bead meets the surface. Deal with a small failure promptly, since water damage behind tiles or cabinets is much harder to repair.
Keep a simple record of paint colours, tile ranges, appliance model numbers and installer details. Store it with receipts and care instructions. When a hinge needs adjusting or a seal begins to fail, you’ll know exactly what was fitted and can arrange the correct repair before a minor issue spoils the room.
